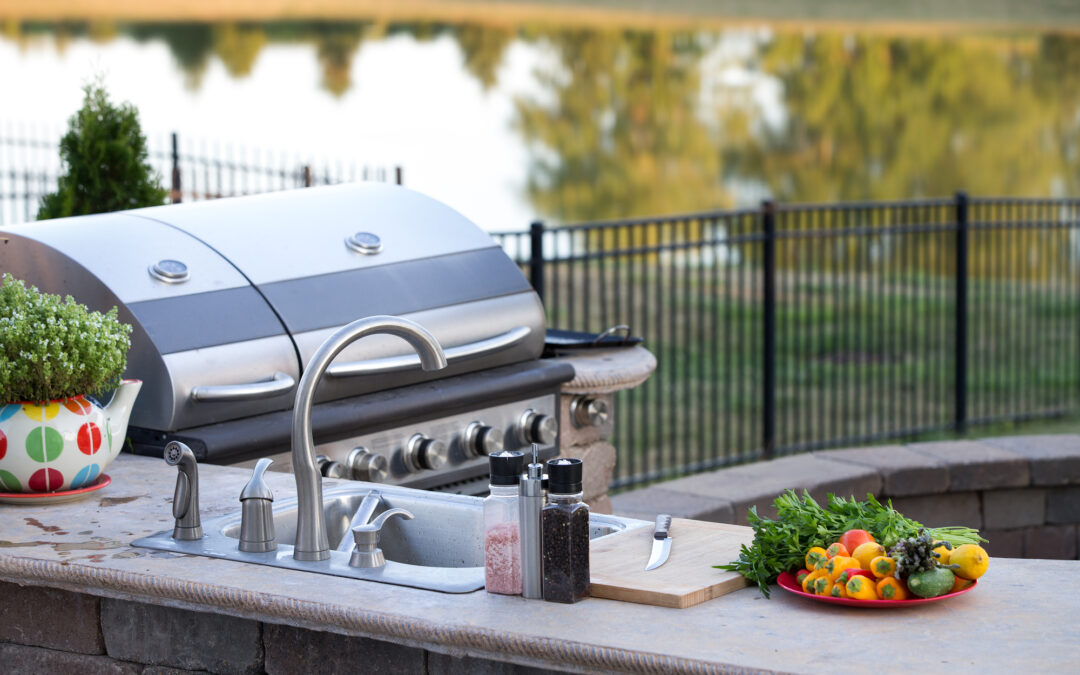
Transforming your deck or patio into an outdoor kitchen is a fantastic way to elevate your outdoor living experience and create a space for culinary adventures, entertaining, and relaxation. Whether you’re a seasoned grill master or a casual entertainer, an outdoor kitchen adds both functionality and style to your outdoor oasis. In this comprehensive guide, we’ll walk you through the process of creating an outdoor kitchen on your deck or patio.
Step 1: Design and Planning
Define Your Needs: Consider what elements you want in your outdoor kitchen, such as a grill, sink, refrigerator, storage, countertops, and seating.
Choose a Location: Select a suitable spot on your deck or patio that allows easy access to your indoor kitchen, dining area, and lounging space.
Layout and Flow: Design the layout to ensure efficient flow between the cooking, prep, and serving areas. Keep safety in mind, positioning hot cooking elements away from high traffic areas.
Step 2: Structural Considerations
Support and Weight: Ensure that your deck or patio can handle the weight of outdoor kitchen appliances and features. Consult a professional if modifications are needed.
Electrical and Plumbing: Plan for electrical outlets, lighting, and plumbing connections if your outdoor kitchen includes appliances that require them.
Step 3: Appliances and Features
Grill: The centerpiece of any outdoor kitchen is the grill. Choose a grill that suits your cooking preferences, whether it’s a traditional gas grill, charcoal grill, or a combination of both.
Sink: A sink simplifies food prep and cleanup. Opt for a stainless steel outdoor sink that’s resistant to the elements.
Refrigeration: A mini-fridge keeps beverages and ingredients at hand. Look for models designed for outdoor use.
Countertops: Choose durable and weatherresistant countertop materials like granite, concrete, or stone to provide ample workspace.
Storage: Incorporate storage solutions such as cabinets, drawers, and shelves to keep utensils, tools, and ingredients organized.
Step 4: Style and Aesthetics
Aesthetic Integration: Ensure that your outdoor kitchen design complements the style of your home and outdoor space.
Color Palette: Choose colors that resonate with your outdoor surroundings, and consider integrating complementary materials and finishes.
Step 5: Lighting and Ambiance
Task Lighting: Install task lighting above cooking and prep areas to ensure safe and efficient nighttime cooking.
Ambient Lighting: Incorporate ambient lighting, such as pendant lights or string lights, to create a warm and inviting atmosphere.
Step 6: Furnishing and Seating
Dining Area: Add a dining table and chairs for comfortable and stylish outdoor dining. Choose weatherresistant furniture that can withstand the elements.
Additional Seating: Consider adding bar stools to a countertop or a lounge area with comfortable seating for guests who prefer to relax while you cook.
Step 7: Shelter and Protection
Shade Solutions: If your deck or patio lacks natural shade, consider adding a pergola, awning, or retractable canopy to provide relief from the sun.
Step 8: Safety and Maintenance
Fire Safety: Place your outdoor kitchen away from combustible materials and follow safety guidelines when using gas appliances.
Maintenance: Choose materials and appliances that are easy to clean and maintain. Regularly clean surfaces, appliances, and grilling elements to ensure longevity.
Final Thoughts
Creating an outdoor kitchen on your deck or patio transforms your outdoor space into a culinary haven where you can cook, dine, and entertain while enjoying the beauty of the outdoors.

